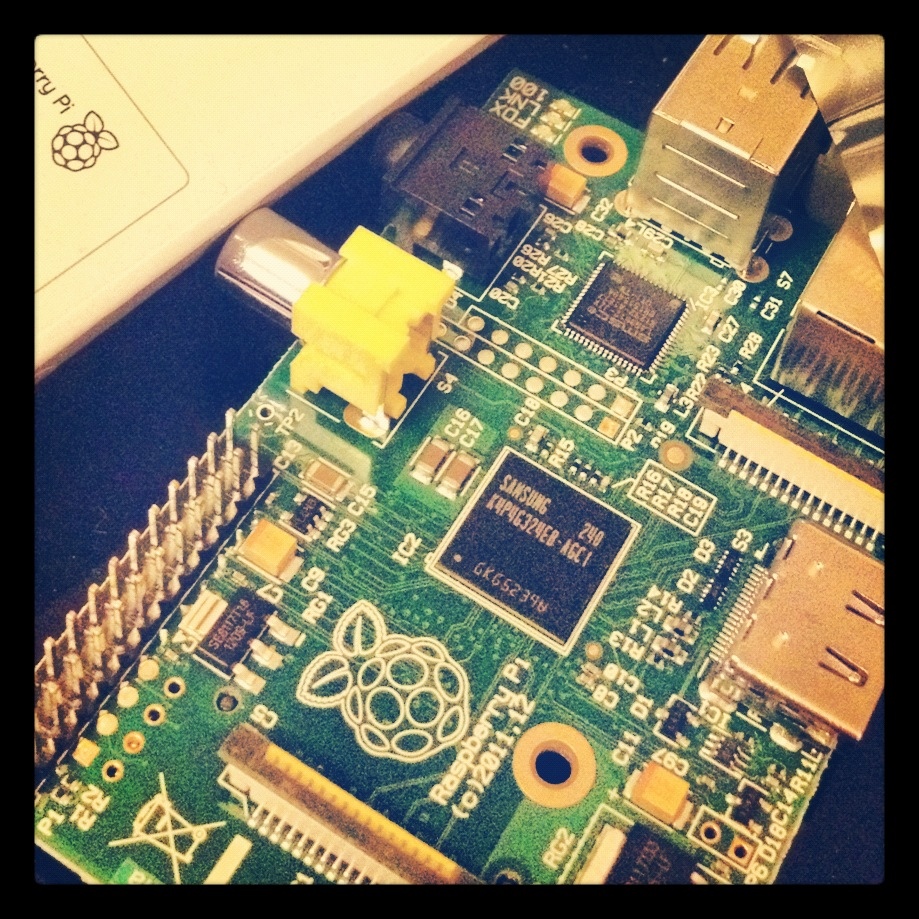
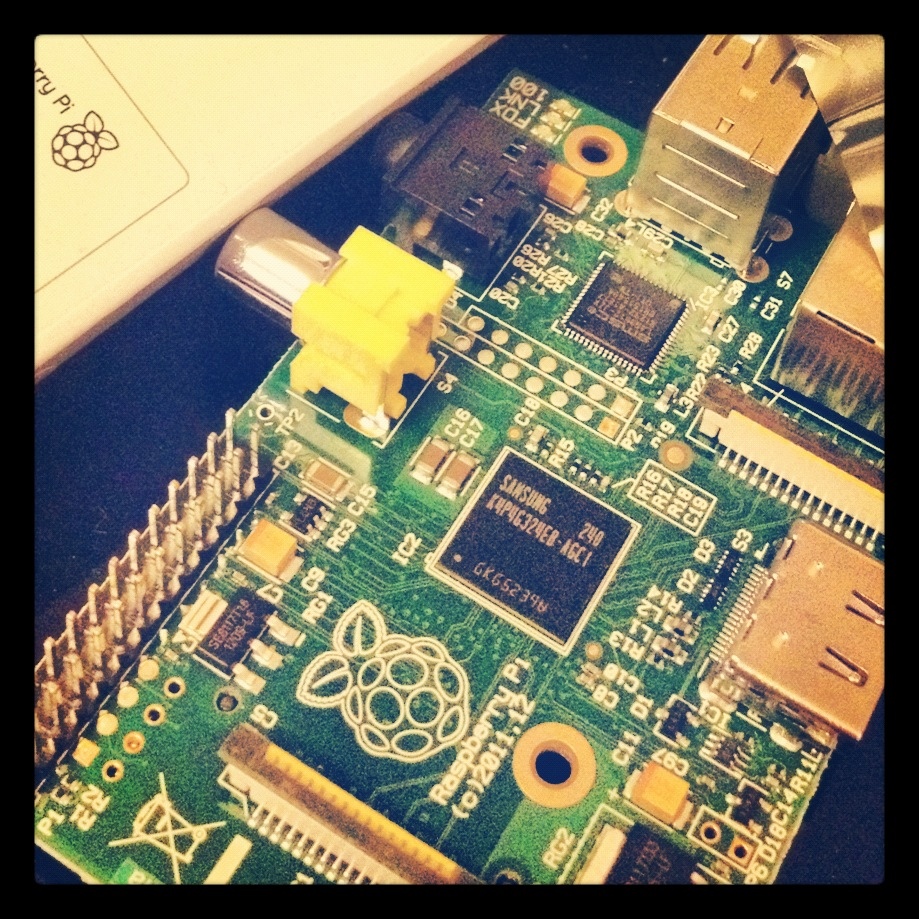
So I was at home, nice and cosy… And I’ve just downloaded some new episodes of Frasier that I want to add to my collection. To move them from my hard drive on the Air to the networked drive, I need to unplug that, connect it via usb, move the files, stick it back on the router, reboot the router, and reboot the pi. (somehow “update video library” doesn’t work from the remote). And “reboot” doesn’t work from the remote application on my iPhone… so… I’ve shamefully been taking the hardcore route to rebooting: unplug – replug. Except this time, the pi decided to get stuck in a reboot loop.
After a few minutes of letting it run around in circles, I decided I had to reinstall the software. So if I was doing that anyway… why not upgrade to the 512MB version I ordered recently? (the “old” one will be taken to my parents’ place for installation as a media server there) So. If you have a mac and are installing XBMC on your pi, here is what you need to do. (first 3 steps copied from the OSX / Linux installation page of raspbmc.org)
- In a terminal, type:
curl -O http://svn.stmlabs.com/svn/raspbmc/testing/installers/python/install.py
- In same terminal, type:
chmod +x install.py
- Plug in your SD card, wait a few seconds, and in same terminal, type:
sudo python install.py
- This runs a script that will guide you through the installation. You only need to confirm you are ok to format the SD card, and which disk corresponds to the SD card. If you haven’t labeled the unit, you’ll figure it out from its size. Mine was 8GB, so the 7,890 MB (or something) was the one I picked.
- When it’s done, it will tell you to plug the SD card into the pi, and plug it in. Do that.
- It’ll take about 20min of running through various screens. Ignore it until it finally shows you the xbmc screen.
- When it’s ready, go into settings and add the network drive where your media resides.
Under videos, you want to add a source. You can browse to it or add the network path if you know it. The key will be after you do that, to choose “movies” or “tv series” from the up/down menu where on the next screen, so that xbmc will know what content metadata to look for.
You can also take the time to tweak the display settings, allow remote control, etc… Setting up the remote control via HTTP is important, and set a username and password too. You’ll need the IP, username and password to user as credentials on the remote control application on your smartphone. - Then go to the videos menu, and add two separate sources, one after the other. I added my “movies” folder from the network drive, told it that movies were hiding in there, and then I added the “tv” folder and told it that one contained tv shows. It went off to update the video library. Again, ignore it until it’s done.
- When that’s finished, all your media should be indexed.


